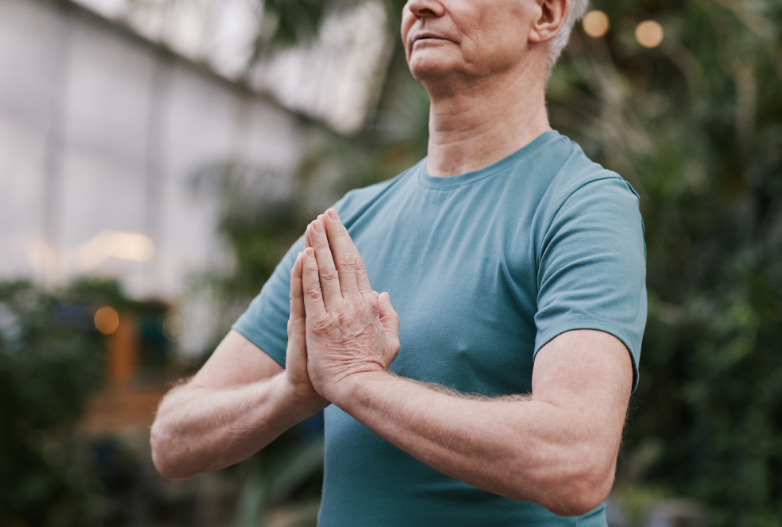
Yoga is fantastic for seniors.
It’s a total body workout that helps promote balance and strength and can be modified for different abilities and skill levels.
Yet, yoga is often portrayed by people doing gravity-defying headstands and twisty backbends. This can make yoga seem intimidating.
But there are tons of beginner-friendly yoga poses, many of which can be done standing up.
Today, we’ll learn about 3 foundational standing yoga poses for seniors that can be done in sequences for a quick, beneficial workout.
The Benefits of Standing Yoga Poses
Standing poses help build a good foundation for yoga practice. These poses help us connect to our center of gravity and work on balance.
Standing yoga challenges our strength, endurance, and flexibility at the same time. This is a great workout, particularly for our lower body and core. Also, using all of these elements at once helps us identify which areas need improvement. This guides our future yoga practice.
Standing yoga can be done almost anywhere with no equipment. This makes it a convenient exercise choice.
Also, in general, yoga practice combines movement with mindfulness and breathing. This helps us clear our mind, focus, get more oxygen, and improve our mind-body connection.
A Quick Standing Yoga Sequence for Seniors
1. Mountain Pose (Tadasana)
Mountain pose is the foundation that standing yoga is built. This beginner-friendly pose helps us gauge our balance. To do mountain pose:
- Take a deep breath in through the nose and out through the mouth. Continue this throughout the pose.
- Stand with the feet hip-width apart, or flush together (more challenging). The choice will depend on balance ability and what feels more natural.
- Put arms comfortably down by sides, palms facing forward.
- Engage the leg muscles by flexing the thighs and glutes. Straighten the legs, but don’t lock the knees.
- Lift the toes. This helps us find the center of gravity. Once the balance is established, put the toes back on the ground.
- Gently press the shoulder blades downwards. This should lift the chest towards the sky. Don’t force it.
- Lengthen the spine/neck by gently extending the crown of the head towards the sky, and tucking the chin a little.
- Hold for 1 minute, while taking deep breaths.
How to do mountain pose: https://www.youtube.com/watch?v=NYhH8Gr35cI
2. Forward Fold (Uttanasana)
The forward fold helps stretch the hamstrings, calves, and hips. It can also relieve neck and back tension.
Forward fold is an inversion, a pose where the head is lower than the heart. This increases circulation. Blood from our pelvis is directed to the heart and then sent to the lungs to be refilled with oxygen. To do forward fold:
- Start in mountain pose.
- Keep the legs straight, feet firmly pressed on the ground.
- Slowly bend at the hips, lengthening the torso. If the legs are uncomfortable, bend the knees slightly.
- Hang the head downwards, with the top of the head towards the floor.
- Either grab each elbow with the opposite hand. Or, if flexible enough, touch the fingertips on the floor.
- Relax the head and neck.
- Engage the thigh muscles, and try to point the bum towards the sky.
- Take a deep breath, feeling it in the torso/spine.
- Exhale and lean further into the stretch. Continue doing this, breathing, and stretching a little further with each exhale. Don’t force it. Some people will be able to touch their noses to their knees, others won’t. All variations are good!
- Hold the pose for up to 1 minute.
How to do forward fold: https://www.youtube.com/watch?v=g7Uhp5tphAs
3. Triangle Pose (Trikonasana)
The triangle pose helps engage the core for increased stability. It stretches the spine and lower back. It also unlocks the shoulders and hips, increasing mobility. To do triangle pose:
- Start in the forwarding fold. Gently roll up through the spine, starting at the hips. This should feel great in the back.
- Spread the legs a little more than shoulder-width apart.
- Press into the feet and find stability.
- Lift the arms parallel to the ground, palms facing the floor.
- Engage the core and stand up tall.
- Turn the right foot so the toes face in the same direction the right arm is pointing.
- Turn the left foot in slightly, about 45 degrees.
- Reach the right hand forward, and begin to bend at the hips. Keep the torso straight.
- Reach the right fingertips to the shin, being careful not to collapse the upper body (keep the core flexed). If possible, touch the fingertips or palm to the ground. Regardless of the variation, the right hand should be pointing towards the ground, and the left should be towards the sky.
- Breathe deeply and hold the pose for up to a minute.
- Repeat on the left side.
How to do triangle pose: https://www.youtube.com/watch?v=upFYlxZHif0
Summary
Yoga is helpful for seniors because it improves body functions that increase health and independence. With the know-how, it’s simple to learn, yet challenging enough to build a strong body. Starting with standing poses establishes a sturdy foundation for a lifetime of yoga practice.
Sources:
https://www.masterclass.com/articles/tadasana-pose-explained
https://www.healthline.com/nutrition/yoga-inversion#benefits
https://www.everydayyoga.com/blogs/guides/how-to-do-standing-forward-fold-in-yoga


